It all stared Sunday afternoon when Lori Holt from
Bee In My Bonnet posted a scrappy crossroads block she was working on onto her Instagram feed. The response was so positive to this super cute block that she decided to put together a quick Instagram tutorial with instructions and shortcuts on how to make this block.
It was love at first sight with this block. I knew that my scrap bin was starting to reach critical mass, so I jumped aboard the quilt along associated with her tutorial. Next thing I know, I've got my scrap bin out on the counter and I'm pulling out my most recent favorite fabric scraps and building a pile of coordinating scraps in shades of blue, gray, pink and purple. As I was digging through my scrap basket, I realized that I had enough scraps of the
Turkish Crosshatch blue left over from making this
Cargo duffel bag and these
divided baskets (patterns are both by Anna at the
Noodlehead blog) to use as the background pieces in this block.
I had been hoarding those blue scraps looking for just the perfect project to use them in and this scrappy crossroads block seemed like just the right thing. I also realized that I had plenty of scraps in the colors I was pulling to make 4 of these blocks. Since each block's finished size is 16", 4 blocks together would make the perfect sized baby quilt.
Let's just say I was obsessed with getting a block done so everything else Sunday afternoon & evening was put on hold (except for feeding the kiddos of coarse). And before I went to bed that evening (much later than I should have), I had the first of the 4 blocks all sewn together and the other 3 blocks all laid out and ready for my sewing machine.
Over the next two days in between spending time with the in laws and going to the beach (Little Bear LOVED beach day!!), I managed to sneak in a few minutes here and there and get all 4 blocks done, sewn together, a boarder put on, the quilt basted (hurray for spray baste!), quilted, and bound!
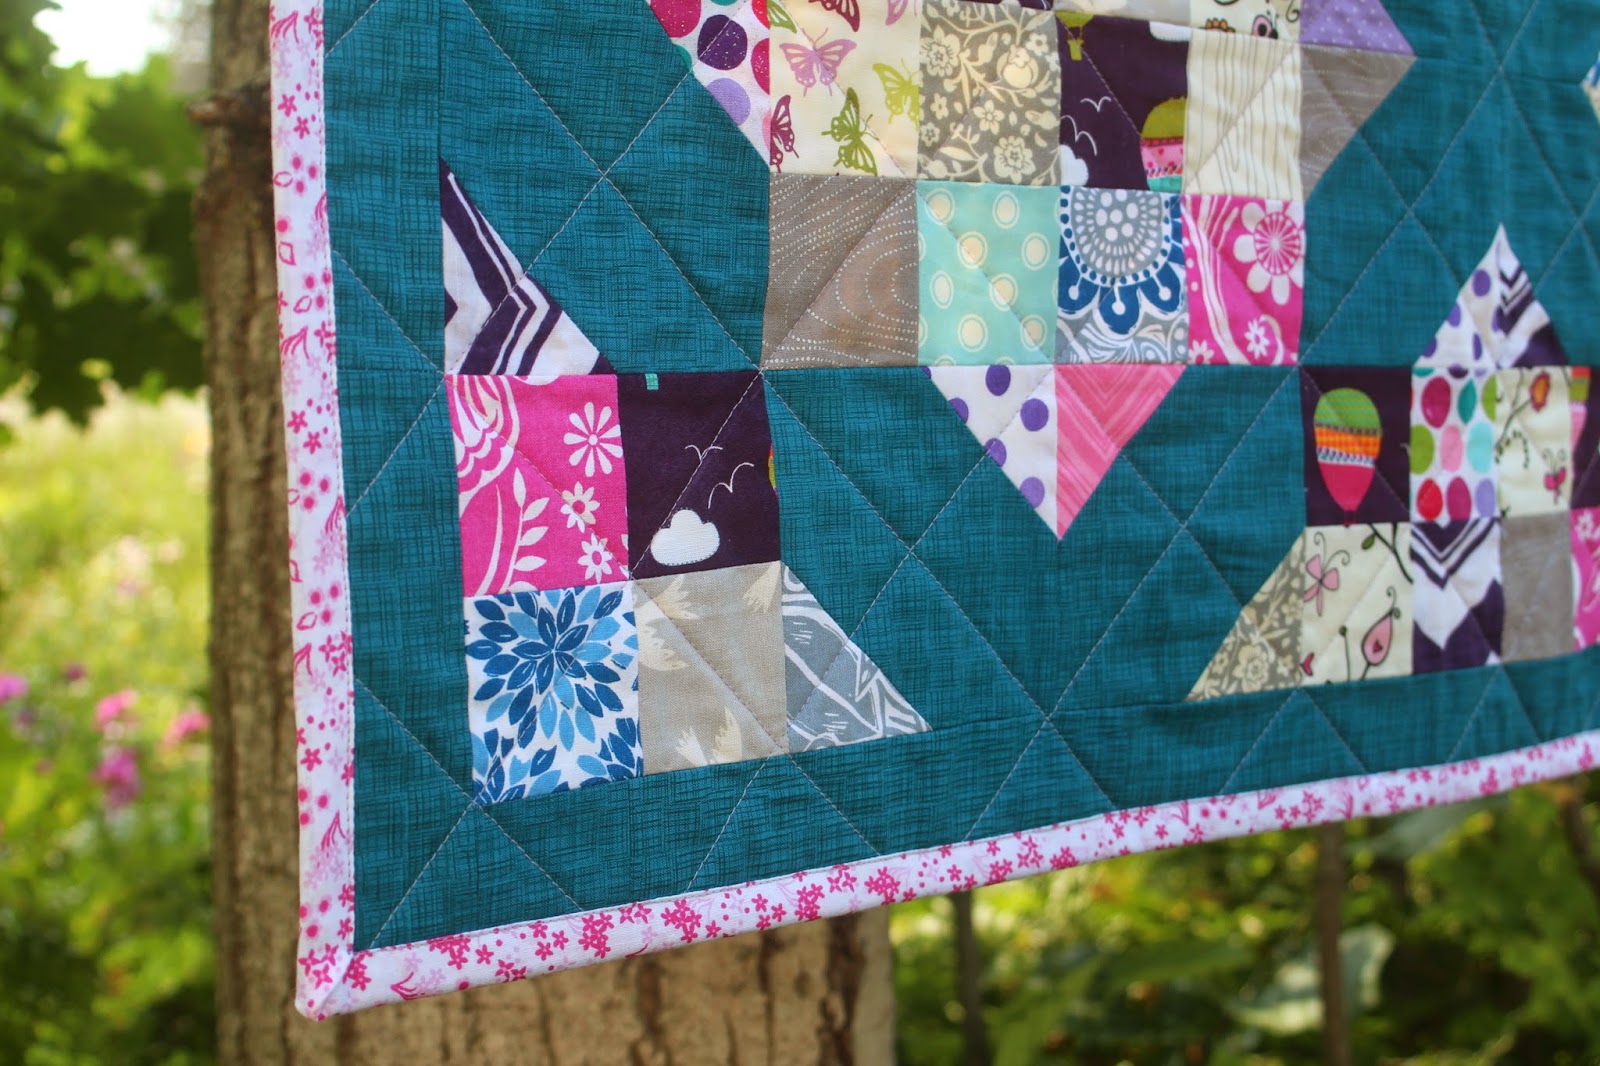
Side note... I was so proud of myself on how the binding turned out. I always machine sew on my quilt bindings as I'm too lazy and impatient to hand sew them on. Slowly I've been getting better at my technique through trial and error, and this quilt was the first time that the binding turned out perfectly! My stitch line didn't slip off the binding on the front or run over the binding on the back! Oh and look at this corner - it's prefect!! (Happy dance!)
I finished this beauty up Tuesday night, and as excited as I was on how it turned it (I couldn't stop starting at it!) I made myself wait until the morning to properly photograph it outside.
I'm so glad I did wait to photograph it properly as the morning sun and the spot next to the house where I like to photograph my quilts did this beautiful quilt far more justice than the poor lighting and my living room floor every could have.
I must admit... This quilt was officially my first all scrap and solely from my stash quilt.
The back is even a little scrappy as the gray floral I wanted to use for the back has a big piece cut out of the corner, so I added in a corner of people and love how that turned out.
I can't get enough of starting at this quilt. I love love love it!
But...
I have boys and so a pretty quilt with pink and purples in it might not get much use around here. So I decided to
list this quilt in my Etsy shop hoping that someone will buy it and this quilt can find a happy home where some little girl will love it.
Plus, this girl needs to fund a serious sewing addiction. ;)
And one final note.... Make a scrap quilt has made me obsessed with cleaning up my scrap bin and cutting all of my scraps into sizes that I know I will use. I'm sure you will be seeing more scrap projects from me in the near future provided that I don't get project ADD and jump into another project from my ever growing list of half started projects.
Stay tuned!
~maggie
P.s. who doesn't love a baby on a quilt? ;)


No comments:
Post a Comment